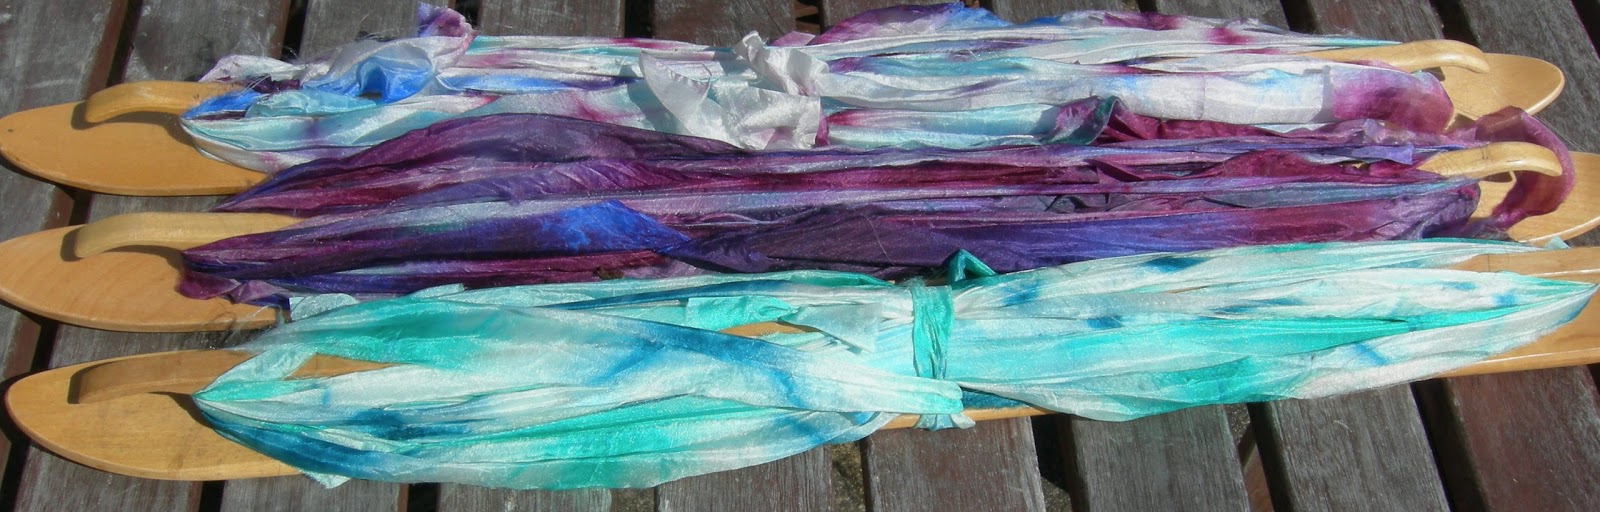
Tuesday, 31 January 2017

Hand spun, Naturally dyed Waistcoat

Hand Spun, Naturally Dyed Yarn

   The reason I bought a spinning wheel many years ago was to spin yarn for my weaving. Of course it takes time to reach an appropriate standard and along the way I have spun much yarn to use for knitted projects, some of it successful, some not appropriate for the intended finished item, but that's not unusual. There are many factors to take into account to be sure the yarn will behave as you want, and, if you are dyeing the spun yarn, well, that needs thinking about and sampling along the way.
   Spinning became a means to relaxation and a better night's sleep for one such as me, whose thoughts and planning seem to difficult to dismiss, continuing well into the night!
   The result has been many skeins of great yarn with no end product in mind. But they have been worth their weight in restful sleep!
   I am unable to wear most woolen products - being a sensitive soul :-)) - but have discovered that I can find some hope in organically prepared fibres.
   The 3ply yarn for this waistcoat was spun from organic falklands fibre, dyed with Walnuts hulls acquired from a tree in a garden just over the road from where I live. The tree has a preservation order on it along with another that stands in ground that once belonged to Poplar Farm, in Eaton Bray. The occupiers of the two properties are frustrated by the number of husks and nuts that have to be picked up from their gardens and without gloves this is a messy job which results in well stained hands.
   My request for bucketsful of  'walnut debris' was welcomed with some curiosity!
Chemical fixatives are not needed to achieve a permanent colour, so that was another plus for me.
   I was pleased with the shade of brown, deep enough but subtle at the same time.
A tension swatch made me realise that I hadn't dyed enough for a cardigan so I chose a modular knitted waistcoat of my own design.

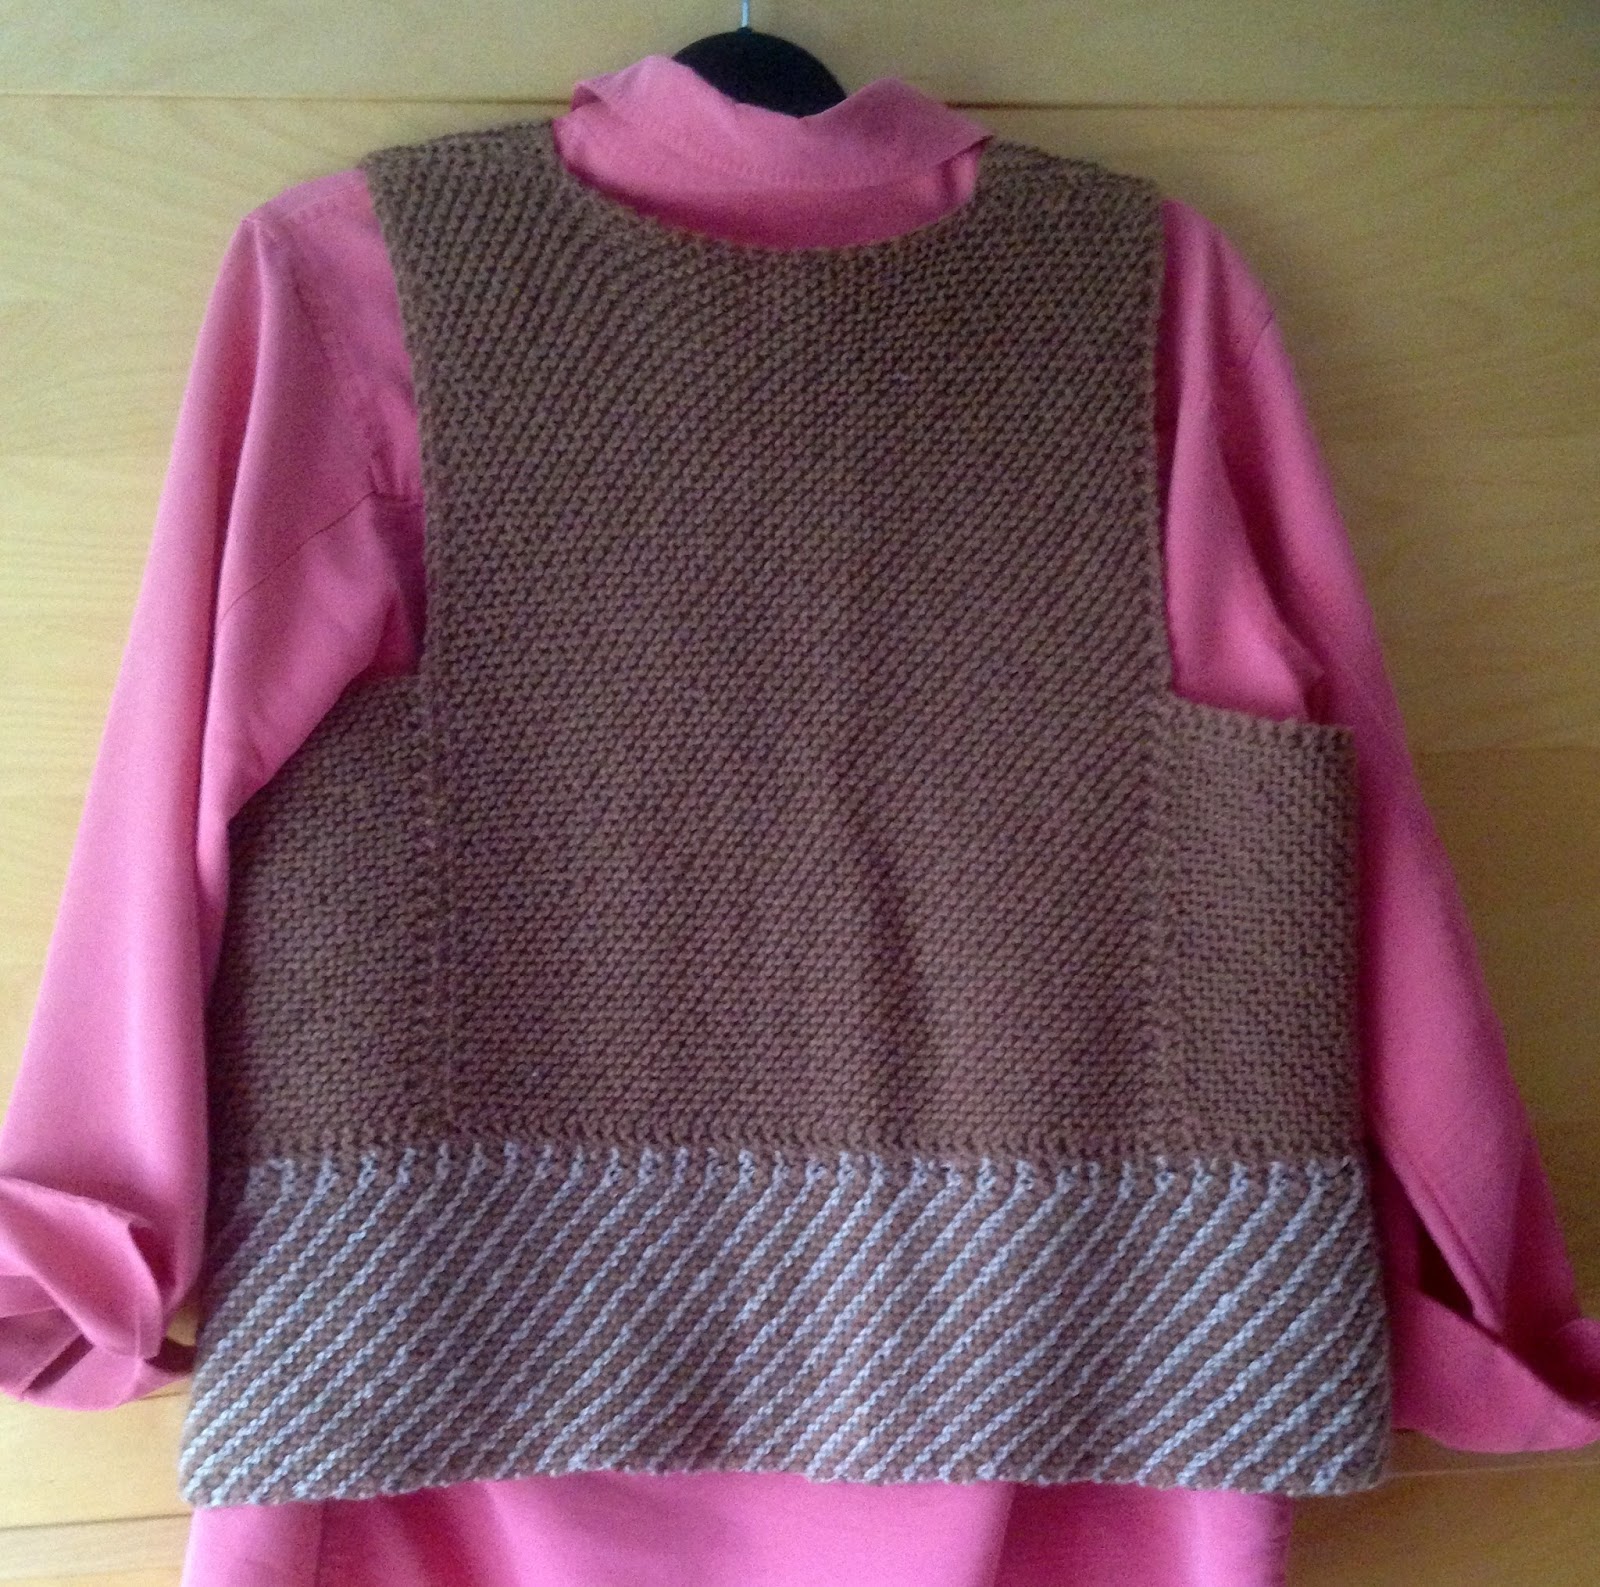
   I began with the front, and knitted on the diagonal to reduce/eliminate the chance of any sagging, until the piece was long enough to reach the outer shoulder line. I weighed that piece to calculate the weight of yarn needed for the front and back plus side panels and was very close to the weight of dyed yarn. With a slight panic over, this inspired a design opportunity!
   I knitted a band with alternating rows of a silk mix yarn, spun some time ago, with the walnut dyed wool. Hey presto!
   Now, I am looking for a suitable, possibly a bar brooch, to use as a fastening, either at the top or lower down the front.


Saturday, 31 December 2016

Latest Project

Traditional Patch work

with a hint of modern

For a new grand child, Hugo, at Christmas.
I have never made anything with machine patchwork before!

Having injured my right ankle a few weeks ago it is too soon to spend time at my floor loom to complete long awaited projects, but short bursts on the sewing machine, in the warmth of our house seemed like a great way to relieve the frustration of not creating something. so with the idea of 'disappearing square' traditional patchwork blocks,  off to the fabric shop, 'Threads and Patches', I went.

I needed to choose 9 coordinating fabrics for the patchwork and two others for the main ground and elephants. I spent quite some time looking at the fabrics!
A new rotary cutter and transparent ruler made the job of cutting the squares so easy! I was pleased to have made the investment. Double sided iron on vilene made the correct placement of the elephants a breeze, but could I control my sewing machine around the curves?!!!!!
I worked on the project for three days and had made all the squares and sewn them together 3 x 5.
then I realised that I hadn't enough fabric for the edge binding, so off to another favourite shop, this time in Leighton Buzzard. They had just the thing along with the correct weight of wadding.

Only a couple of days after its completion and just before Teddy's third birthday, I took the quilt to Cranleigh. Fingers crossed! Would the family like it?
'Perfect' was the reaction and surprise at it being finished so quickly. 

My next patchwork project, I hope, will be a cot quilt for grand-daughter Martha who will be one year old 8th January 2017. I'm looking forward to it!

Thursday, 13 October 2016

Completed Rep Runner


      I'm quite pleased with the finished runner!
     Although not originally intended to be a 'finished item' rather than a weave sample, I have woven 10 of the possible 128 motifs using this weave structure and threading and it is long enough - 80inches/200cm - to go down the middle of our dining table. Admittedly, I did choose the warp colours with this possibility in mind but the result was an unknown quantity.
      There is still some of the five yard warp left to try out a more 'freeform' design and I'm eager to get on with it. Also, I am eagerly awaiting the publication of Rosalie Neilson's 'An Exaltation of Blocks.'

Tuesday, 13 September 2016

REPP

Results of Rep Course


Boy, What a great course! Rosalie Neilson - A great and generous tutor!
It was a busy 3 days, challenging and inspiring.
The motifs in the collage are some of those I have woven already.
The weave structure seems complicated at first and planning the warp means you have to get your mathematicians head on. With 128 possible design motifs to choose from the choice was difficult. Do I repeat a few and make a pattern or try as many as possible for the experience? I chose the later and the resulting length will make a great table runner.
I managed 76" in three days, eight motifs with a small motif repeated between each one, and plan to weave a couple more motifs to make it the length of our dining table.
Rosalie gave us booklets made up of some pages from her book to be published soon ('An Exaltation of Blocks') and took us through designing and creating all the 4 block design possibilities using binary. In the book will be printed design pages and transparent overlays to allow weavers to explore block designs. Those of us on the course had 8 shaft looms and could only work with 4 block designs. Weavers with 16 or more shafts and the appropriate number of treadles will discover infinite design possibilities.

Tuesday, 16 August 2016

Warped at Last

Sett Up and Ready to Go


     In September I am going to a weaving workshop in Devon, organised by the Devon Weaver's Workshop. I am really looking forward because I have wanted to use this weave for some years but could never be quite confident that I could get my head round the structure all by myself. I have owned a book 'Rep Weave and Beyond' by Joanne Tallarovic since 2004/5
As luck would have it I secured a place on this workshop, led by Rosalie Neilson, a great 'expert' on the weave. www.rosalieneilson.com

     It has taken longer than I expected to warp up my table loom but hopefully all is well.
It can't be bad a weaving workshop and extra days spent in Devon.


    I wove this sampler when I was at another summer school with the Association of Weavers, Spinners and Dyers. That workshop was organised as a 'round robin' so we got to try several different weave structures and make small samples of each.

REPP WEAVE is warp faced block weave based on the Swedish ripsmatta - 'repp mat' of which little had been published in English until the mid 1980's. At first yarns for this weren't very exciting, thick string or cotton roving but now there are yarns in many interesting colours and the weave is being used for more than rugs, towels, table mats, wall hangings and even clothing.
'The technique has been known in various cultures since early times. Excavations in Peru and Egypt have unearthed fragments dating back to the fourth century. Asians, for centuries, have used remnants as camel girths. Today in Central Asia, long, narrow, colourful bands are use to bind together sections of framework for yurts covered with felted wool.' 'Rep Weave and Beyond'

Monday, 27 June 2016

The warp and weft blog...: The London Cloth Company

The warp and weft blog...: The London Cloth Company: Film by Thomas Webster   After observing from afar for awhile with jaw-dropped admiration, I was lucky enough to hear Daniel Harris sp...

RAG WEAVING

CREATIVE USE OF WASTE MATERIALS


There may be a lot of others like me who hate to throw away favourite pieces of clothing that are still beautiful, don't fit any longer or have some small area of damage. Like me these may be part of your 'stash' of creative materials waiting for a new purpose.
Maybe weaving with them is one solution.

Last year, while demonstrating at 'Living Crafts' Hatfield House, I used some shibori dyed squares of silk which I wove on the remnants of a white silk warp used to demonstrate the previous year.
Visitors were eager to know what I was going to do with this length of cloth, so I quickly thought of an idea and bravely said, 'Come and see the results next year'. Unfortunately I didn't exhibit there this year, but here is the resulting garment.


I woven the green fabric from a cone of yarn that I thought was wild silk, sadly it was not, too much wool content for my sensitive skin!
Below are the silk squares that were cut into continuous strips to give the wound balls on the right.


The Finished Fabric Length:-

I have owned the large rag bag on the right for several years. It hangs in my workshop, even though it isn't particularly beautiful, a constant reminder of what can be done with fabric 'remnants

The purse, zipped tool bag, on the right, shows how not to use your cut strips!
Made from an old 70's table cloth, I was experimenting with this technique. I tore the strips of fabric and wove with them as they were. the torn edges were not too frayed but I hadn't calculated on the cloth folding inwards/inside out as I wove, so most of what shows is the wrong side of the table cloth and thus not as bright as it could have been. (Tearing does make sure your fabric strips are on the grain.) A lesson learned!

      This lined diagram shows how to cut your fabric to get as long a weft 'yarn' as possible.
If you are cutting a thin dress cotton or even printed silk, there is a way to make sure you see the right side of your fabric when it is woven in. Cut the strips a twice as wide as you might otherwise have done and then iron them, wrong sides together, wind them on your shuttle and weave.